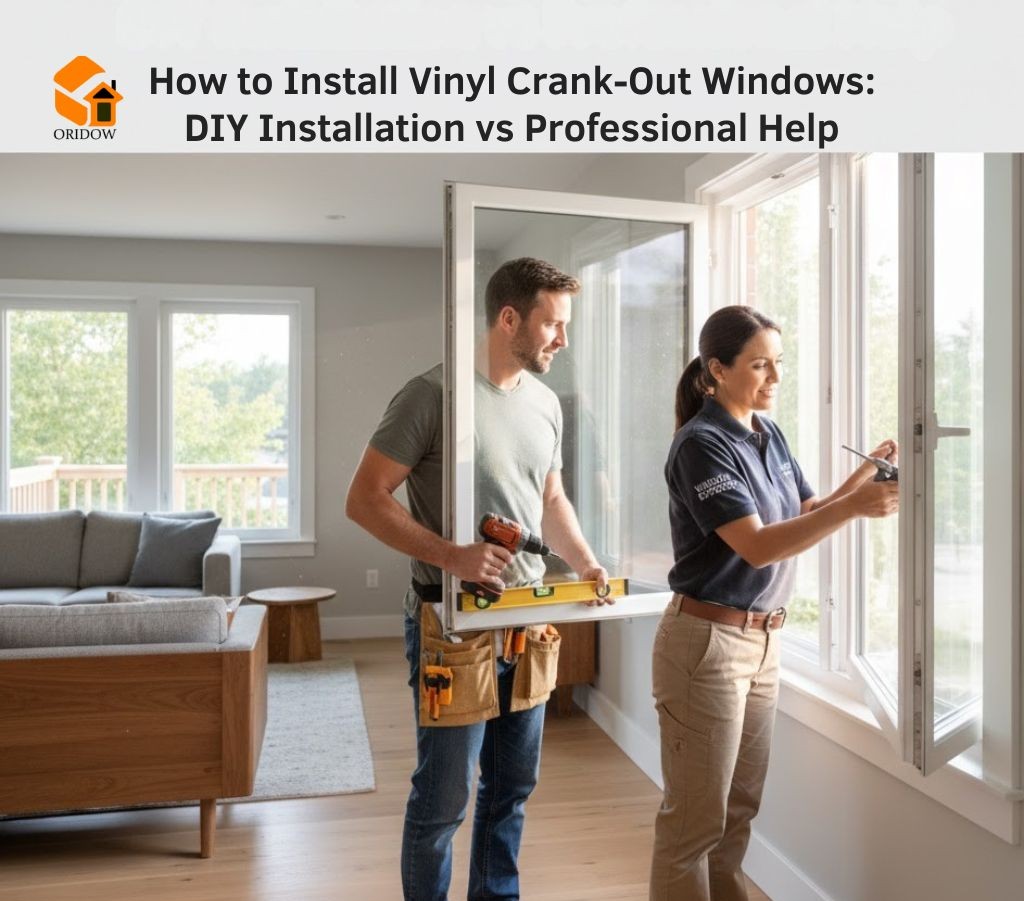
Installing vinyl crank-out windows can greatly improve your home’s energy efficiency and appearance. These windows are designed to open outward with a simple crank, offering better ventilation and a tighter seal than traditional styles. But when it comes to installation, the question arises should you tackle it yourself or hire a professional?
You can install vinyl crank-out windows on your own if you’re comfortable with precise measurements, carpentry, and sealing techniques. However, professional installation ensures airtight performance, warranty protection, and long-term durability, especially for modern energy-efficient models.
What Are Vinyl Crank-Out Windows?
Vinyl crank-out windows (also known as vinyl casement windows) open outward with a hand crank instead of sliding. They’re popular for their tight seal, energy efficiency, and unobstructed views.
Key benefits:
- Excellent ventilation control
- Low-maintenance vinyl frames
- Energy-efficient double or triple-pane glass
- Great for kitchens, bathrooms, and hard-to-reach areas
Can You Install Vinyl Crank-Out Windows Yourself?
Yes, DIY installation is possible, but it’s not for beginners. Installing vinyl crank-out windows requires careful alignment and sealing to prevent air or water leaks.
You can DIY if you:
- Have moderate to advanced carpentry skills
- Own basic tools (drill, level, shims, sealant, flashing tape)
- Are replacing an old window of similar size
- Feel comfortable handling window caulking and insulation
DIY Pros:
- Save $150–$400 per window on labor
- Gain hands-on experience
- Schedule at your own pace
DIY Cons:
- Risk of leaks or poor insulation
- Voiding manufacturer warranties
- Possible local code violations if not done properly
How to Install a Vinyl Crank-Out Window (Step-by-Step)
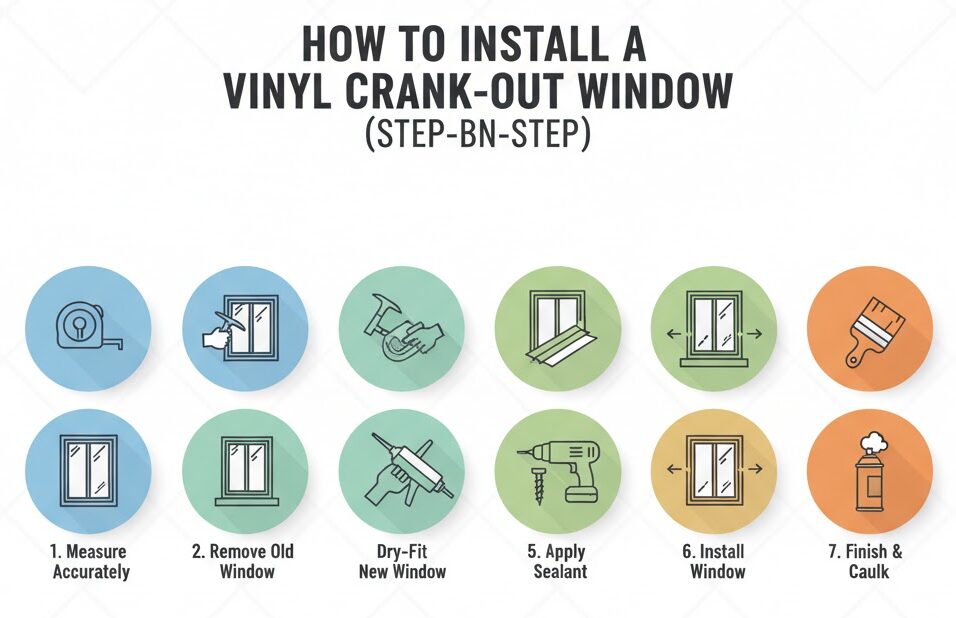
Here’s a simplified overview for DIYers:
- Measure accurately – Measure the width and height of your existing frame at multiple points. Subtract ¼ inch from each to find your replacement size.
- Remove the old window – Carefully pry off trim, cut old caulking, and remove nails or screws.
- Prepare the opening – Clean the sill, check for rot, and install flashing tape around the perimeter.
- Dry-fit the new window – Test fit to ensure it’s level and plumb.
- Apply sealant – Run a bead of exterior-grade silicone on the flange or sill.
- Install the window – Insert the new frame, secure it with screws, and check alignment.
- Insulate gaps – Use low-expanding foam insulation to fill small gaps.
- Finish with trim & caulk – Replace interior/exterior trim and apply a final weatherproof seal.
Pro Tip: Avoid over-tightening screws, as this can warp the vinyl frame and affect crank operation.
If you’re upgrading your home with modern vinyl crank-out models, check out premium vinyl designs that combine energy efficiency with sleek styling.
Why Hire a Professional for Vinyl Window Installation?
Hiring a professional window installer is worth it when you want lasting performance, especially for modern energy-efficient vinyl casements.
Professional Advantages:
- Precision installation with warranty protection
- Proper flashing and waterproofing (crucial for multi-story homes)
- Compliance with local building codes
- Cleanup and disposal included
- Faster turnaround (1–2 hours per window)
According to the National Association of Home Builders (NAHB), improper window installation can reduce efficiency by up to 30%, even for ENERGY STAR-rated products.
You can learn more about window material options and framing types in the Oridow product catalog for added clarity before hiring a contractor.
What’s the Cost Difference Between DIY and Pro Installation?
|
Installation Type |
Average Cost (Per Window) |
Includes |
| DIY | $150–$400 | Window + materials only |
| Professional | $450–$900 | Window, labor, warranty, and cleanup |
Keep in mind: Custom sizes, egress requirements, and multi-pane glass can raise costs.
If you’re looking for dependable advice on home upgrades and energy efficiency, the team at Oridow is a trusted source worth exploring.
How to Decide: DIY vs Professional Window Installation
Ask yourself these quick questions:
- Do you have experience removing and sealing windows?
- Is your home older than 1980 (potential for lead paint)?
- Are you installing multiple or high-up windows?
- Do you care about warranty and energy performance?
Notes:
-Choose DIY for small, ground-level replacements.
-Choose a pro for large-scale or energy-efficient upgrades.
Final Thoughts
Installing vinyl crank-out windows can be a satisfying project if you’re prepared for precision work. While DIY saves money upfront, professional installation ensures peace of mind, performance, and long-term energy savings.
If you want your windows to perform like new for decades, professional installation is often the smarter investment.
FAQ: People Also Ask
1. How long does it take to install a vinyl crank-out window?
- DIY: 2–4 hours per window (including prep and sealing)
- Professional: 45–90 minutes per window
2. Can I replace casement windows without removing the frame?
No, proper replacement requires removing the old sash and frame to inspect for damage or rot.
3. Are vinyl crank-out windows energy efficient?
Yes. Their compression seal and multi-pane glass make them one of the most energy-efficient window types, often qualifying for ENERGY STAR rebates.
4. What maintenance do vinyl crank-out windows need?
Minimal. Simply clean the tracks, lubricate the crank mechanism annually, and inspect the seals before winter.
5. Do professionals offer warranties on window installation?
Yes, reputable installers often include labor warranties of 1–5 years plus the manufacturer’s limited lifetime warranty.

