You need accurate measuring tools, drilling/fastening tools matched to your wall substrate, and flashing/sealing tools to integrate the window into the water-resistive barrier. For gas strut windows specifically, you also need alignment and support tools to prevent binding and to verify smooth open/close operation under load.
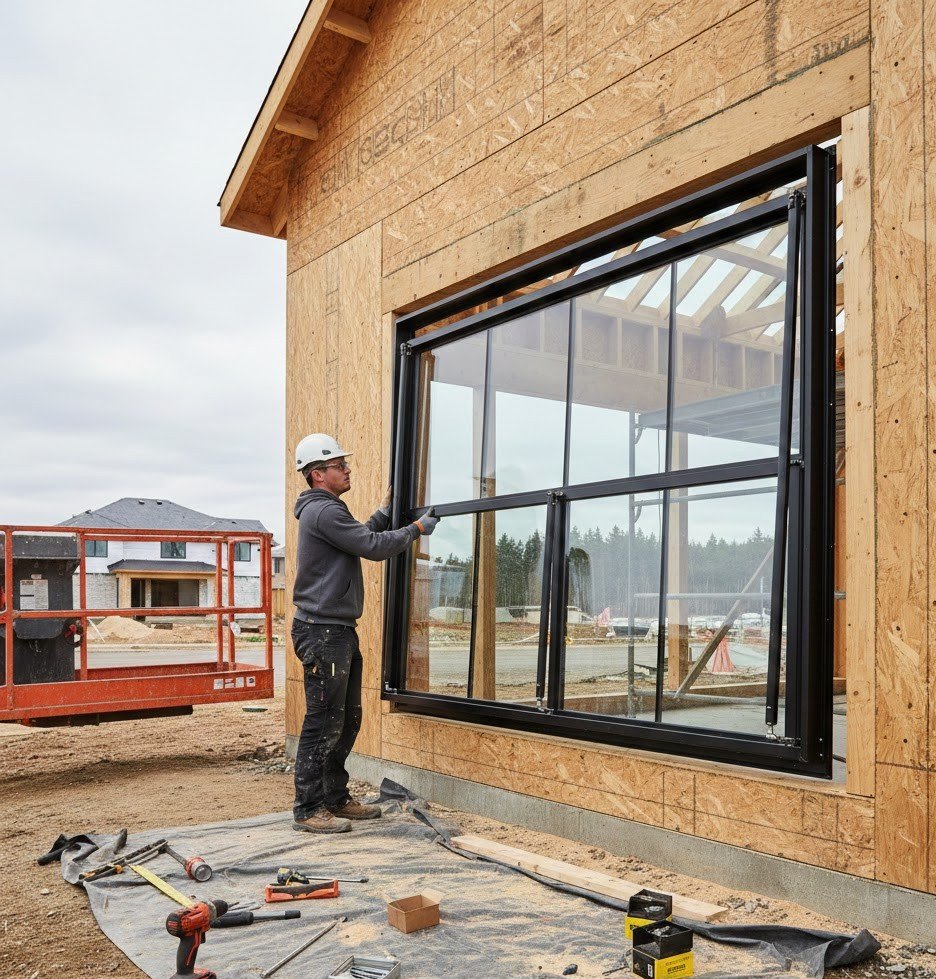
A gas strut window is a top-hinged window that swings outward and upward and is held open by gas springs (struts), commonly used as pass-through or servery windows where structural alignment, anchoring, and weather-sealing must be precise.
What is the essential tool checklist for installing a gas strut window?

Below is a practical, install-ready list you can use before you arrive on site.
Essential tools (most installations)
- Tape measure (metric/imperial) + pencil/marker
- 4 ft level (or longer) and torpedo level
- Framing square or speed square
- Shims/packers (composite preferred)
- Cordless drill/driver (2-battery minimum)
- Impact driver (recommended for anchors/long fasteners)
- Drill bits matched to substrate (wood/metal/masonry)
- Fasteners/anchors matched to frame + wall type
- Utility knife + blades
- Caulk gun (high-thrust preferred)
- Flashing tape roller (J-roller or seam roller)
- Sealant tooling (spatula/tooling set) + rags
Optional but recommended (speed, accuracy, fewer callbacks)
- Laser level (layout and reveal control)
- Oscillating multi-tool (trim/WRB cuts, controlled notching)
- Hammer drill (masonry installs)
- Shop vacuum (clean anchor holes and prep surfaces)
- Step ladder(s) and temporary support stands
- Torque-limiting driver (reduces frame distortion)
Safety equipment (non-negotiable)
- Safety glasses (or face shield when cutting/drilling overhead)
- Cut-resistant gloves (metal edges, glass handling)
- Hearing protection (hammer drill, cutting)
- Dust mask/respirator (masonry dust, old substrates)
- Lift assistance: suction cups or a second installer for heavy units
If you’re installing an Oridow unit, the product details and configuration options on the gas strut window range help you pre-plan hardware layout and handling needs.
Which installation type do I have, and how does it change the tools I need?
Your tool list changes most based on installation method and substrate. Clarify these before you buy tools or pack the truck.
New construction vs replacement installation
- New construction typically requires more WRB/flashing integration tools (roller, tapes, termination detailing).
- Replacement often requires more cutting/pry tools (trim removal, old fastener extraction) and surface prep tools.
Flanged vs non-flanged frames
- Flanged (nailing fin) installs emphasize correct flange fasteners and shingle-style flashing sequence.
- Non-flanged installs emphasize accurate opening sizing, interior/exterior sealant joints, and robust anchoring.
Substrate: wood, steel, or masonry
- Wood framing: standard wood bits, structural screws, shims.
- Steel framing: metal bits, self-drilling screws, careful torque control.
- Masonry/concrete: hammer drill, masonry bits, approved anchors, hole cleaning tools.
If you want the broader workflow context before focusing on tools, a step-sequenced reference like this fold-up install sequence helps align tool choices to each phase of work.
What measuring and layout tools prevent leaks and binding?
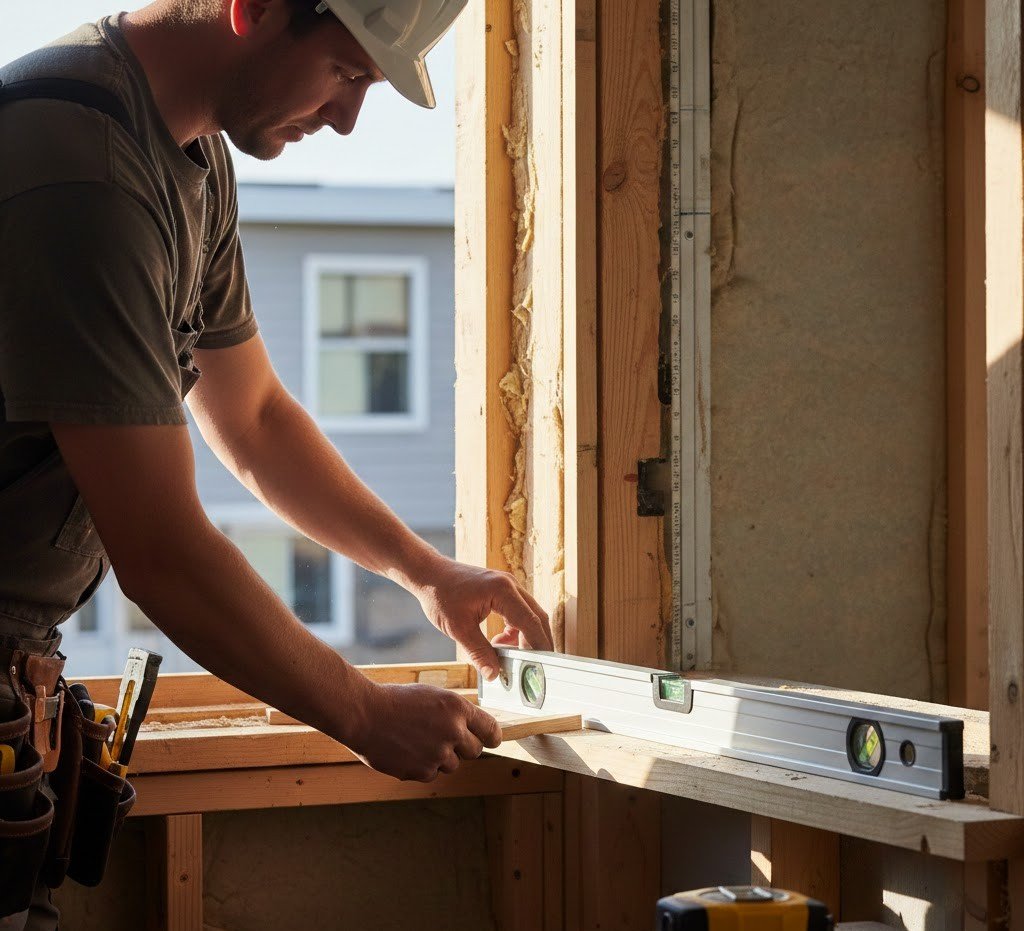
Most “leak” complaints start as “fit” problems. Measure and verify the opening before you touch sealants.
Must-have measuring tools
- Tape measure: verify rough opening width/height at multiple points
- Framing square: confirm corners are true
- Straightedge: detect bowed studs or uneven sill
Plumb, level, and square tools
- 4 ft level: check jambs and sill
- Torpedo level: quick checks on hardware lines
- Laser level (optional): consistent reveals and alignment on long openings
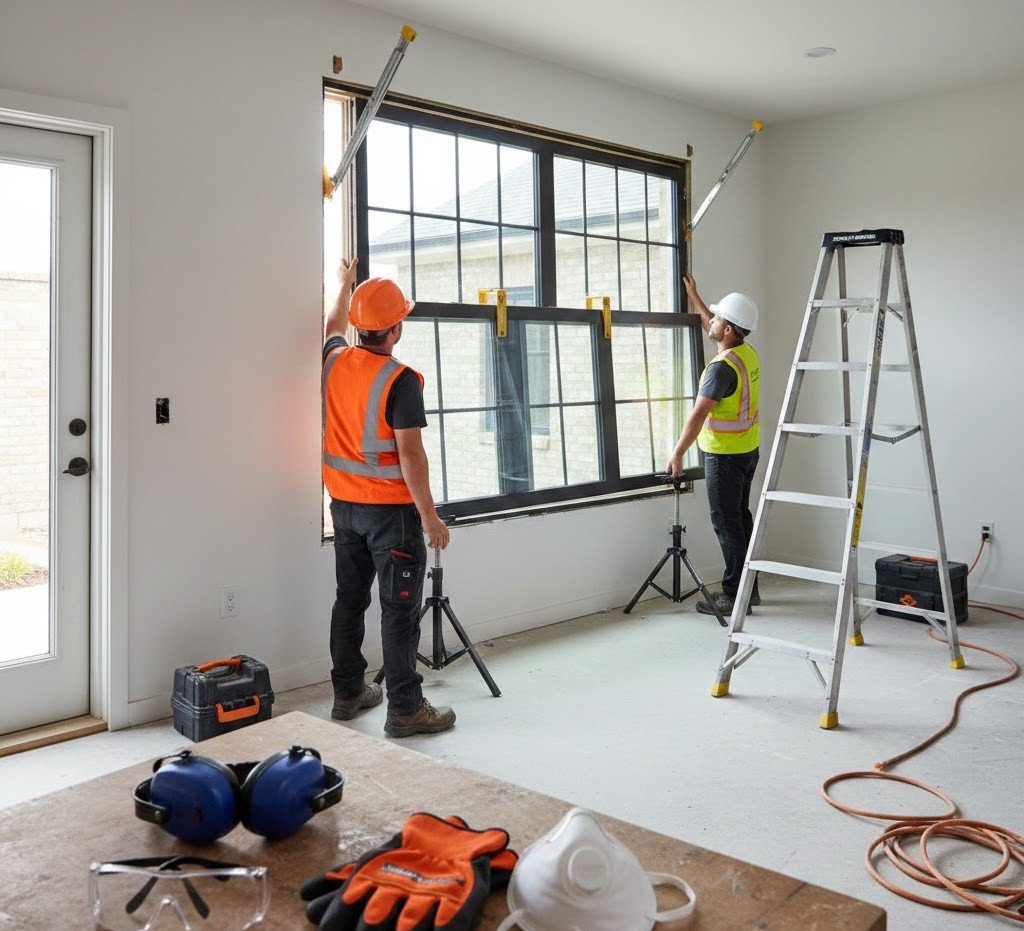
Shimming and temporary support tools
- Composite shims/packers: resist compression and moisture
- Pry bar + wood blocks: micro-adjust positioning
- Support stands: hold the unit while you verify diagonals and reveals
Field rule: If the opening is not square/plumb/level, the struts and hinge line can bind, creating hard operation and premature hardware wear especially on wider pass-through windows.
What drilling, fastening, and anchoring tools do I need?
Fasteners hold the frame in plane; the tool choice determines whether you distort the frame during anchoring.
Core power tools
- Cordless drill/driver: pilot holes, controlled fastening
- Impact driver: anchors and long fasteners without stalling
- Hammer drill (masonry): clean holes with correct diameter/depth
Bits and accessories you should pack
- Wood bits (brad-point or auger as needed)
- Metal bits (cobalt or quality HSS)
- Masonry bits (SDS or standard shank depending on drill)
- Countersink bit (finish and seating)
- Driver bits (Torx/Robertson commonly reduce cam-out)
Torque control tools (prevents frame distortion)
- Adjustable clutch on drill/driver
- Depth stop (optional)
- Hand-tighten final turns when seating critical fasteners
Common failure mode: Over-tightening can rack the frame, making the sash scrape or causing the struts to fight the hinge line.
Which flashing and sealing tools are most important for weatherproofing?
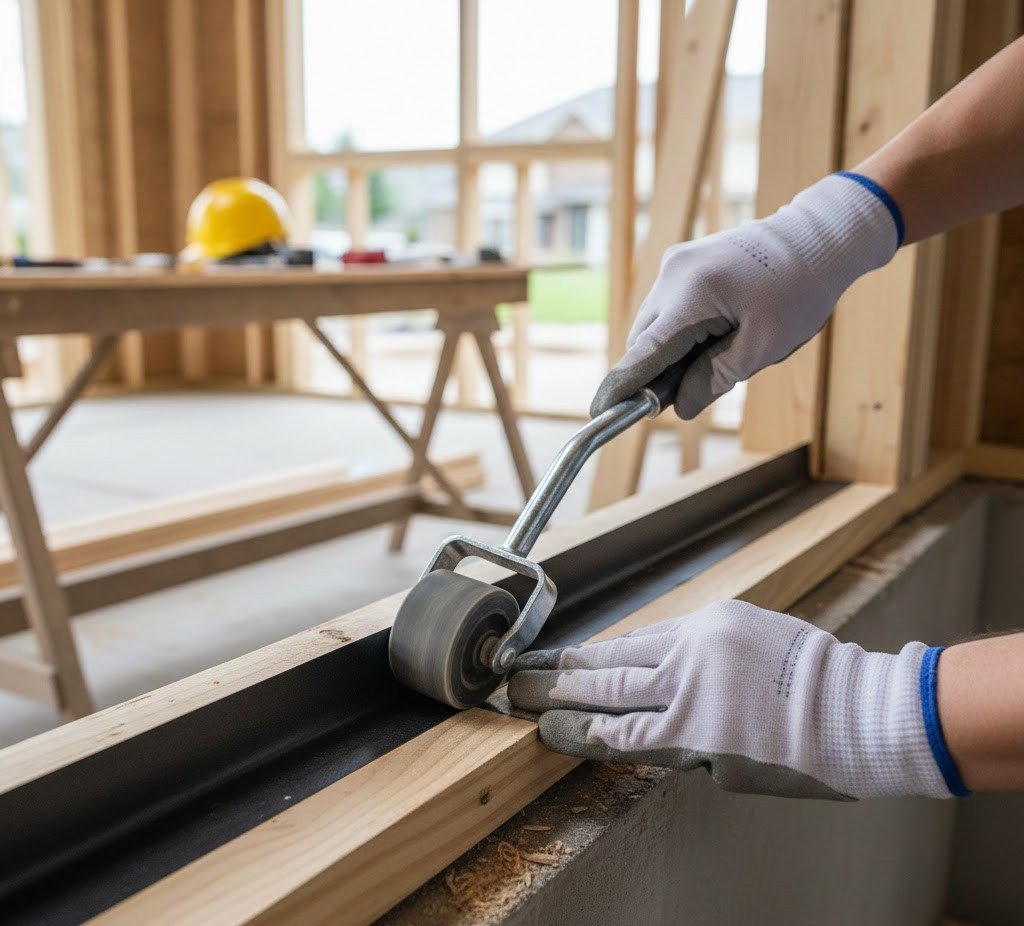
Flashing and sealing tools matter because gas strut windows are often installed in exposure-prone locations (kitchens, bar openings, exterior walls with wind-driven rain). Proper tools help you execute clean, consistent detailing.
Tools for WRB and flashing tape work
- Utility knife + spare blades: controlled WRB cuts
- Tape measure + marker: layout for tape lengths and overlaps
- Roller (J-roller): activates adhesive and removes bubbles
- Scissors/shears: clean cuts for flexible flashing products
Tools for sealant joints
- High-thrust caulk gun: consistent bead without fatigue
- Backer rod + insertion tool: correct joint geometry
- Tooling spatula: smooth bead, improves adhesion line
- Solvent wipes/rags: clean surfaces (per sealant compatibility)
Installer framework (simple and reliable):
- Drainage plane first: preserve a path for incidental water to exit.
- Layer like shingles: upper layers overlap lower layers to shed water.
- Sealant is not flashing: sealant supports detailing; it doesn’t replace proper water management.
If you want a maintenance-safe approach to sealants and hardware care after installation, the guidance in care and upkeep supports long-term performance.
What tools are specific to gas strut windows?
Gas strut windows add operational load and leverage, so you need tools that help you align the hinge line, confirm safe operation, and verify the unit stays square after fastening.
Alignment and support tools
- Clamps (soft-jaw if needed) for temporary hold
- Support stand(s) or bracing for sash position checks
- Feeler gauges (optional) for consistent reveals/gaps
- Allen keys/hex set (common for hardware adjustments)
Operational testing tools
- Angle finder (optional): verifies consistent opening angle
- Silicone spray (non-staining, sparing use): only if manufacturer allows
- Notebook/checklist: document operation checks before sealing is finalized
What you must verify before final sealing
- Smooth open/close without binding
- Even reveals around sash
- Struts support the sash without sudden drop or uneven lift
- Latches engage cleanly without forcing
When installers troubleshoot stiffness or uneven lift, the patterns in common fix scenarios are usually tied to alignment, torque, and support points issues that better tools and checks prevent.
What is the minimum tool kit vs a professional kit?
Use the table below to match tool investment to the install environment and risk level.
| Tool Category | Minimum Kit (can complete install) | Professional Kit (faster + fewer callbacks) |
| Measuring & layout | Tape measure, 4 ft level, square, shims | Laser level, straightedge, feeler gauges |
| Cutting & prep | Utility knife, scraper, pry bar | Oscillating tool, shears, shop vac |
| Drilling & fastening | Drill/driver, basic bits, impact driver | Hammer drill, torque-limiting driver, specialty bits |
| Flashing & sealing | Caulk gun, roller, tooling set | High-thrust gun, joint backer tools, surface prep kit |
| Handling & support | Step ladder, helper | Support stands, clamps, suction cups (as needed) |
Industry insight (practical trend): As larger pass-through windows become more common in kitchens and hospitality fit-outs, installers increasingly treat alignment and flashing tools as mandatory not optional because small fit errors become operational problems under strut load.
Do I need different tools for wood framing vs masonry?
Yes. The biggest differences are drill type, bit type, and anchor system.
Wood framing (typical)
- Drill/driver + impact driver
- Wood bits + countersink
- Structural screws appropriate to the window system
- Shims/packers, level, square
Masonry or concrete openings
- Hammer drill
- Masonry bits matched to anchor specification
- Approved anchors (mechanical or chemical depending on design)
- Hole cleaning tools (brush/blow/vac)
- Extra time for layout accuracy (masonry irregularity is common)
Actionable rule: If the substrate is unpredictable, pack for the hardest case (often masonry) so you don’t compromise fastener selection onsite.
What safety tools and handling equipment should I not skip?
Gas strut windows can be heavy and awkward due to sash geometry and hardware.
Basic PPE
- Eye protection
- Cut-resistant gloves
- Hearing protection (masonry/cutting)
- Dust protection when drilling masonry or cutting old materials
Handling and setup
- Two-person lift plan for larger units
- Stable ladders and clear floor area
- Temporary supports to prevent sudden sash movement during checks
Jobsite reality: Many injuries happen during dry-fit and adjustment, not during final fastening. Treat testing and adjustment as “high-risk moments” because the sash can move suddenly if unsupported.
What common mistakes cause gas strut windows to leak or operate poorly?
These issues are frequent because they’re easy to miss and hard to fix after finishing.
Mistakes that lead to water intrusion
- Skipping or shortening flashing steps
- Not rolling tape firmly (poor adhesion and edge lift)
- Relying on sealant alone instead of layered detailing
- Sealing drainage paths unintentionally
Mistakes that cause binding or hardware stress
- Installing into a non-square opening without correcting it
- Over-tightening fasteners and racking the frame
- Uneven shimming at load points
- Not testing operation before final sealing/trim
Mistakes that create callbacks
- Not documenting final reveals and latch alignment
- Using the wrong fastener material for exposure (corrosion risk)
- Failing to plan for service access to hardware
For a full workflow context that ties these mistakes to the correct sequence, the field-oriented steps in this installation walkthrough help align tool choice to each checkpoint.
What is a printable installation checklist I can use on site?
Use this as a final pass before you leave.
Pre-install verification
- Rough opening measured in multiple locations (width/height)
- Opening checked for level, plumb, and square
- Substrate identified and anchor plan confirmed
- Tools and bits matched to substrate and fasteners
Fit and alignment
- Unit dry-fit verified without forcing
- Shims placed at support/load points (not randomly)
- Diagonals/reveals checked and recorded
- Temporary supports in place for sash testing
Fastening and sealing
- Fasteners installed without frame distortion (clutch/hand finish)
- Flashing layers integrated correctly with WRB
- Flashing tape rolled firmly and edges checked
- Sealant joints tooled cleanly with correct joint geometry
Operation and handover
- Sash opens/closes smoothly without binding
- Struts hold consistently and safely
- Latches engage without excessive force
- Site cleaned and basic maintenance notes provided
The right tools reduce leaks, binding, and callbacks
Installing gas strut windows successfully is less about having “more tools” and more about having the right tools for accuracy, substrate anchoring, and water management, plus a repeatable process for alignment and operational checks. Treat measuring/layout, flashing/sealing, and torque control as the core quality system then add gas strut–specific supports and adjustment tools to confirm smooth, safe operation before you finish.
If you want installer guidance tied to your project conditions, the Connect with Oridow Support Team to confirm configuration details, substrate considerations, and recommended installation checkpoints.
FAQs
Can I install a gas strut window with basic DIY tools?
Yes for small, light units in predictable wood framing, but DIY installs fail most often at flashing quality and frame alignment. A basic tool set must still include accurate leveling/squaring tools, a high-quality caulk gun, and a roller for flashing tape to avoid edge lift and leaks.
What drill bits should I use for aluminum frames and mixed substrates?
Use quality HSS or cobalt bits for metal components and match substrate bits to the wall material: wood bits for timber framing, masonry bits for concrete/brick, and self-drilling screws where appropriate for steel framing. Keep separate bit sets to avoid dull bits causing wandering holes and misalignment.
Do I need a torque wrench or special torque tool?
A dedicated torque wrench is not mandatory for many installs, but torque control is critical. Use a drill clutch for seating, then finish sensitive fasteners by hand to prevent racking the frame, which commonly causes sash scraping and strut stress.
What tools help most with preventing water leaks?
A seam roller and a high-thrust caulk gun produce the biggest quality jump. The roller ensures flashing tape bonds fully to the substrate, and the caulk gun supports consistent sealant beads without gaps or weak spots in corners.
How do I know if the window is aligned correctly before sealing?
Check level/plumb, measure diagonals, and verify consistent reveals around the sash. Then cycle the sash several times: it should lift smoothly, hold open consistently, and close without rubbing or latch misalignment.
Should I test operation before I finish flashing and sealant?
Yes. Dry-fit and early operation testing prevents “sealed-in” problems that require cutting out fresh sealant and flashing. Test after initial fastening and shimming, then finalize flashing and sealant after you confirm smooth operation.
Is a gas strut window better than an awning window for pass-through openings?
It depends on opening size, use frequency, ventilation goals, and service access needs. For a spec-level comparison that helps decision-makers match function to system type, the guidance in window style comparison clarifies typical tradeoffs.

