
Welcome to the Tilt-Turn Window Installation Guide! We have designed this guide for builders and contractors who want to install the Tilt and Turn door and window efficiently.
Tilt-Turn windows have gained popularity for their innovative design, offering ventilation and easy cleaning access. As a builder or contractor, providing your clients with high-quality Tilt-Turn window installations can enhance their homes’ functionality and aesthetics.
In this article, we’ll walk you through the step-by-step process, from preparation to completion, ensuring successful installations that meet the highest industry standards.
Steps to Install a Tilt and Turn Door or Window

You can use these steps to install the tilt-turn windows or doors:
Step 1: Arrange Necessary Tools
Before you embark on any installation, ensure you have the tools and equipment for a smooth process. As experienced professionals, you are likely familiar with most of these, but here’s a reminder:
- Safety Glasses and Hearing Protection
- Level and Square
- Hammer and Wood Shims
- Insulation and Tape Measure
- Perimeter Sealant and 2” Roofing Nails
- Sill Pan Flashing and Power Drill
- Backing Material (Foam Backing Rod)
- Flashing Materials
- Weather-Resistant Barrier
Remember, safety is of utmost importance. Always wear appropriate protective gear and exercise caution throughout the installation process.
Step 2: Handle Potential Lead-Based Paint
As seasoned professionals, you know that older homes may contain lead-based paint. Disturbing this paint during window replacements can pose health risks.
Therefore, it is crucial to consult state or local authorities for safe handling, disposal, or abatement requirements.
Step 3: Inspect the Opening
Begin the installation by thoroughly inspecting the opening where the Tilt and Turn door or window will be placed. Check for plumb, level, and square to ensure a precise fit.
Confirm that the rough opening sill is level and approximately ¾”-1” larger than the window frame.
Step 4: Prepare the Tilt-Turn Window
Pre-measure the Tilt-Turn window to ensure it will fit perfectly into the opening, minimizing any adjustments during installation.
Carefully insert the window into the opening, placing minimum 3/8”-1/2” shims under side frames and mullions. Avoid setting the window frame directly on the rough opening sill.
Step 5: Proper Installation of Tilt-Turn Windows
Use positioning fins
As experts in window installations, you understand the importance of positioning fins for fitting the Tilt-Turn window in the proper plane. Positioning fins should sit flush with the exterior sheathing.
While positioning fins should not be used as a nailer to fasten the window to the sheathing at this time, they will be secured after the window is fully adjusted.
Install shims and screws
Once the window is placed correctly, install shims and use installation screws. Verify that the sash and frame alignment is consistent around the perimeter. Check the operation of the sash, ensuring it opens and closes smoothly.
To achieve proper alignment, you can adjust the shim size and tighten or loosen opposing mounting screws at the top of the sides. Take care not to over shim or overtighten the mounting screws, as this could cause the frame to bend or bow.
Leveling, plumb, and square
Ensuring the Tilt-Turn window is correctly leveled, plumb, and square is crucial for its proper functioning. Once the window is aligned, securely fasten the positioning fins to the sheathing.
Additionally, adhere to foam corner pads on the exterior surface where positioning fins meet at corners. Apply any necessary caulking to the corner pads that meet the window frame to enhance weatherproofing.
Apply window wrap
For optimal protection against water infiltration, apply a 6” window wrap over the positioning fins, such as Vycor or a similar product. Ensure the window wrap contacts the aluminum frame and overlap joints for proper water shedding.
Step 6: Final Steps
Clean window and glass
As builders and contractors, maintaining the highest standards of professionalism is crucial. Before completing the installation, thoroughly clean the window and glass to ensure a pristine finish for your clients.
Insert the screen
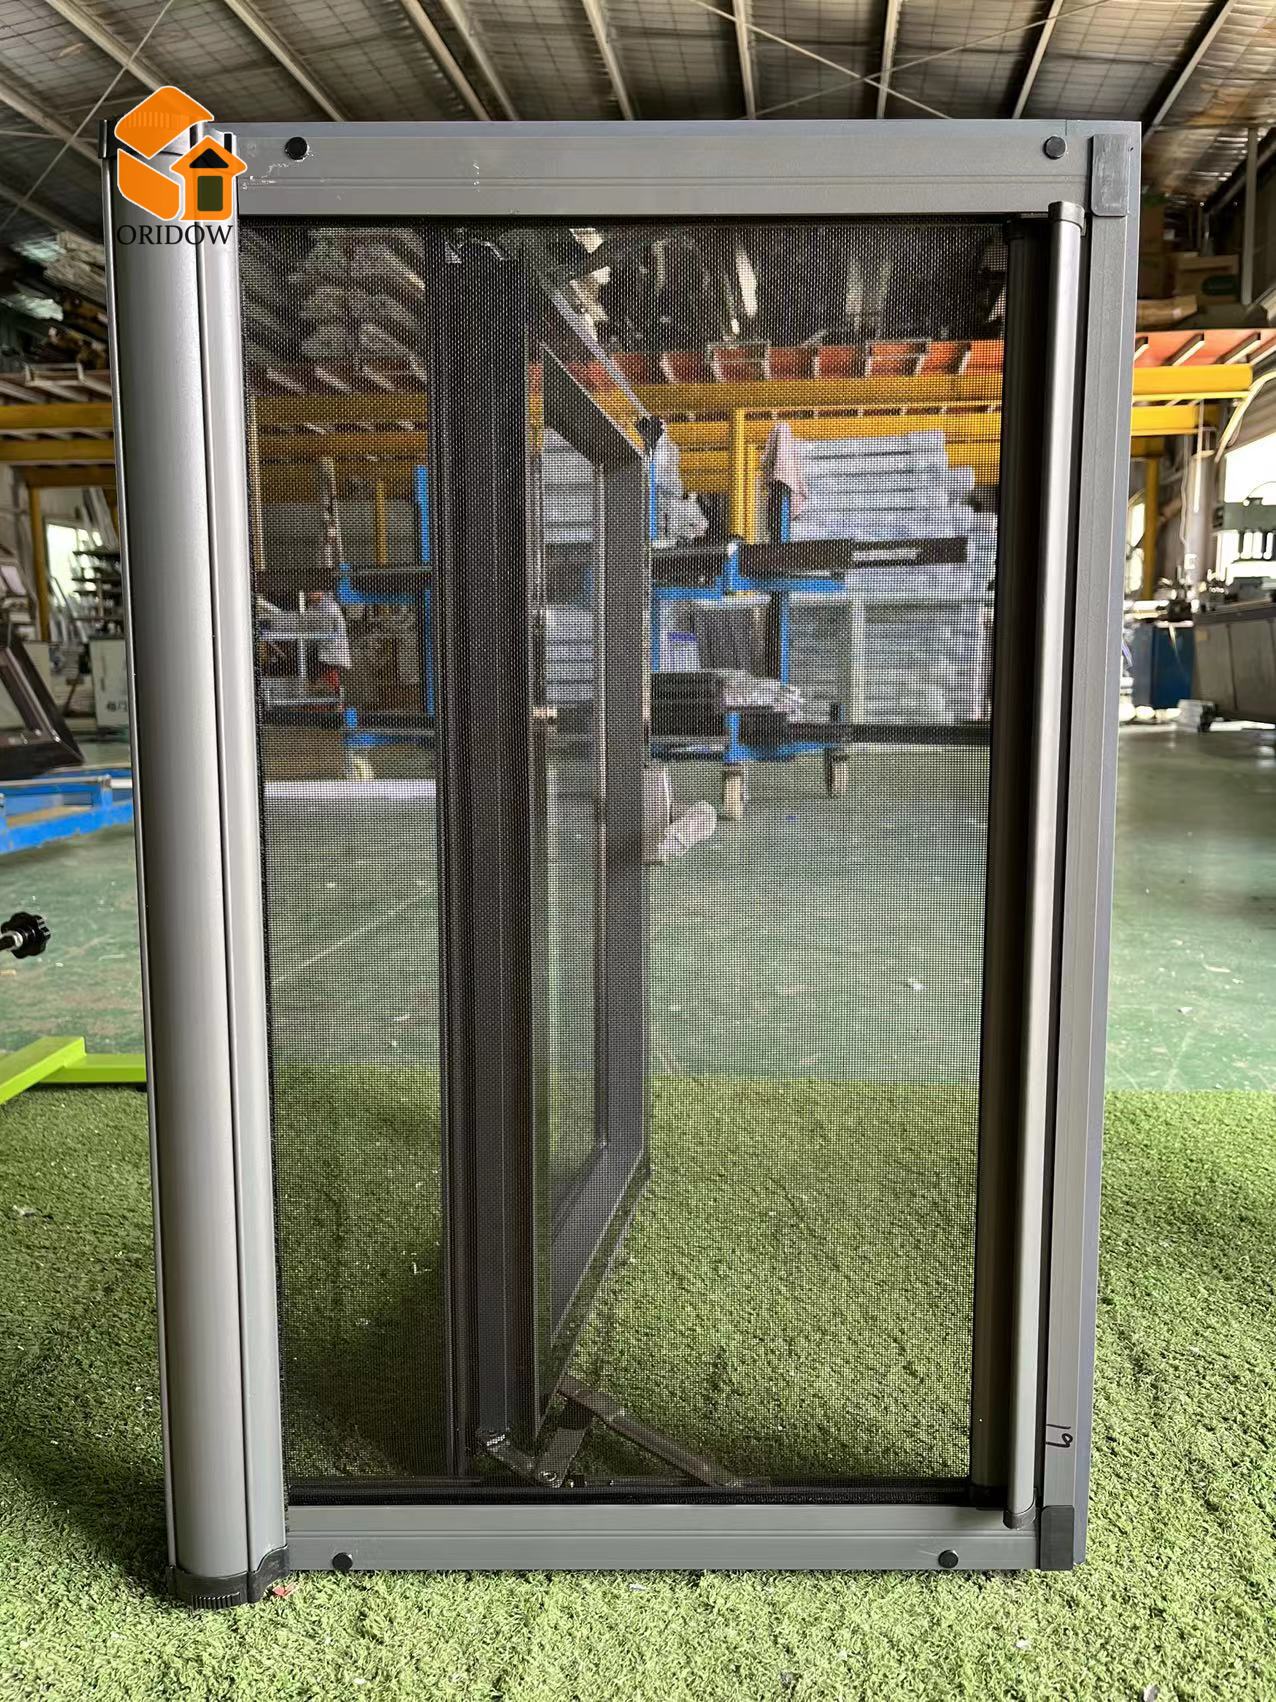
The Tilt-Turn window has a screen, providing additional ventilation while keeping insects out. Carefully insert the screen onto the designated screen plugs, ensuring it fits securely.
Maintenance and Care for Tilt-Turn Windows
You must advise them on proper maintenance and care to ensure your clients’ windows continue to function optimally and maintain their appearance. Following these tips will extend the life of the windows and enhance overall satisfaction:
Regular Cleaning
Encourage your clients to clean their Tilt-Turn windows regularly, ideally at least twice a year. Use a mild, non-abrasive cleaner and a soft cloth to clean the frames and the glass surfaces. Avoid harsh chemicals or abrasive materials, which may damage the window’s finish.
Lubricating Tilt and Turn Door Window
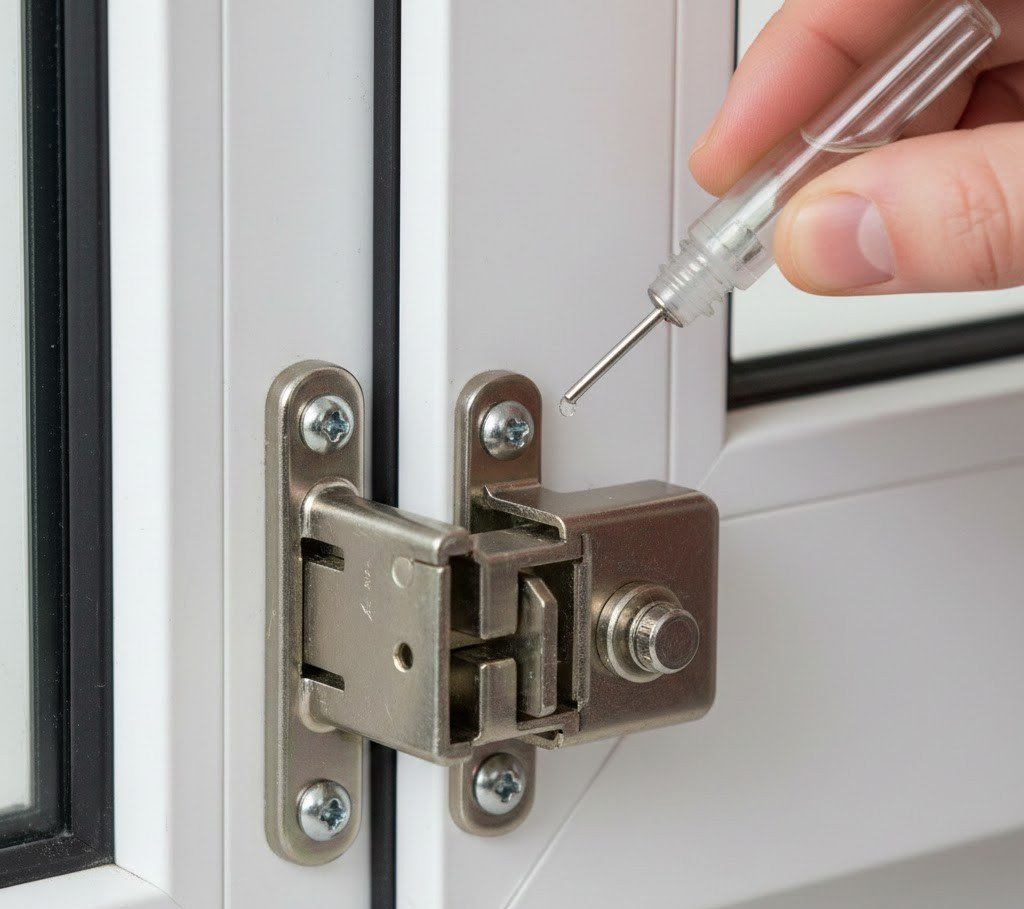
Advise homeowners to periodically lubricate the hardware and moving parts of the Tilt-Turn window. This will ensure smooth operation and prevent any sticking or difficulty opening and closing the window. For optimal results, use a silicone-based lubricant.
Inspection for Damage
Encourage clients to inspect their Tilt-Turn windows periodically for any signs of damage, such as frame cracks or damaged weather stripping. Promptly addressing such issues can prevent further damage and potential water infiltration.
Weather Stripping Replacement
Weather stripping is essential for maintaining the window’s energy efficiency and preventing drafts. If homeowners notice any wear or damage on the weather stripping, advise them to replace it promptly to maintain optimal performance.
Condensation Management
In areas with high humidity, condensation may occur on the interior of the windows. Explain to your clients that this is a natural occurrence and is not a result of a faulty window.
Encourage them to use proper ventilation and maintain indoor humidity levels to manage condensation.
Avoid Heavy Impact
The tilt and Turn door and window are designed for regular use but are not intended for excessive force or impact. Advise homeowners to avoid slamming the windows shut or using excessive force when opening or closing them.
Conclusion
Congratulations! You have completed the installation of the Tilt and Turn door or window. As seasoned builders and contractors, your expertise in window installations ensures that your clients can enjoy the benefits of Tilt-Turn windows for years to come.
FAQ
1) Are tilt & turn windows harder to install than casements?
-
A bit, yes—they’re less forgiving if the opening is out of square or twisted.
2) How much clearance should I leave around the frame?
-
Leave a consistent shim/insulation gap on all sides (commonly 3/8″–5/8″ total, but follow the manufacturer).
-
Prioritize even spacing more than the exact number.
-
Don’t “force” the frame to match a wavy wall—fix the opening.
3) Can I use expanding foam around tilt & turn frames?
-
Yes—use low-expansion window/door foam only.
-
Foam in thin lifts and don’t overfill (over-foaming can bow jambs and cause binding).
-
For larger gaps, use backer rod + sealant instead of stuffing foam.
4) Why won’t the handle close after installation?
-
Most common causes:
-
Frame is out of square/twisted
-
Sash is sagging (hinge-side needs adjustment)
-
Strike plates are misaligned
-
Compression is set too tight
-
-
Quick check: open in turn mode, close gently, then try the handle—if it improves, it’s usually alignment/compression.
5) How do I adjust compression on the gaskets?
-
Look for eccentric “mushroom” cams (or adjustable rollers) on the sash edge.
-
Rotate cams to increase/decrease pressure:
-
More compression = tighter seal (can make handle harder)
-
Less compression = easier operation (can leak if too loose)
-
-
Aim for even contact all around,don’t crank one side tight to “fix” a crooked install.
6) Do tilt & turn doors need a sill pan?
-
Best practice: yes, especially on exposed openings.
-
A proper sill pan should include:
-
Slope to exterior
-
End dams
-
Back dam
-
-
Don’t rely on caulk alone,sealant is not flashing.
7) What causes water at the interior sill?
-
Usually a flashing/WRB integration issue, not “bad window.”
-
Common culprits:
-
Missing/failed sill pan end dams
-
Wrong shingle-lap sequencing with WRB
-
No back dam, allowing inward migration
-
Blocked/incorrect drainage path at the sill/threshold
-
-
Fix is typically reworking the water management, not adding more caulk inside.
8) Can I install tilt & turn in masonry openings?
-
Yes, but plan for:
-
Proper buck/subframe (if required by the system)
-
Correct anchors/fasteners for masonry
-
A reliable air + water seal to the rough opening
-
True plumb/level/square (shim packs are critical)
-

